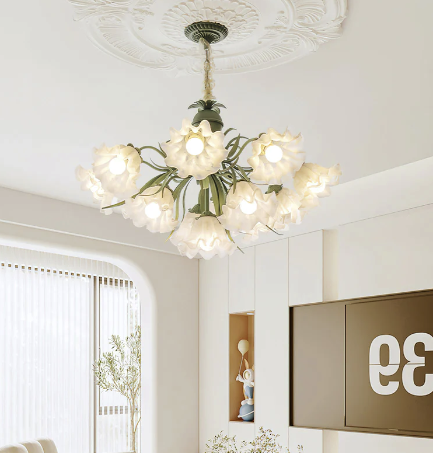
Are you looking to bring more light into your home? Installing ceiling light outlets can be a great way to accomplish this. This article will discuss what ceiling light outlets are, the benefits of having them, and how to install them.
What are Ceiling Light Outlets?
A ceiling light outlet is a type of electrical outlet that is designed to connect and power ceiling-mounted light fixtures. These outlets are typically found in the center of a room’s ceiling and are installed by an electrician during initial construction or as part of a renovation.
The Benefits of Ceiling Light Outlets
There are several benefits of having ceiling light outlets in your home.
1. Increased Lighting
Ceiling light outlets allow you to add more light to a room, which can make it brighter and more inviting. This is especially helpful in rooms without many windows or natural light.
2. Versatility
Ceiling light outlets can be used to power a variety of different light fixtures, including chandeliers, pendant lights, and flush mount fixtures. This means that you can choose the type of lighting that best fits your personal style and needs.
3. Convenience
With ceiling light outlets, you don’t have to worry about running extension cords across the floor to power your lighting fixtures. This can improve both the safety and appearance of your room.
How to Install Ceiling Light Outlets
If you’re handy with electrical work, you may be able to install ceiling light outlets yourself. However, it’s important to note that electrical work can be dangerous and should always be performed by a qualified electrician.
1. Gather Materials
Before you begin, you’ll need to gather the following materials:
– Drill
– Cable
– Circuit Tester
– Electrical Box
– Electrical Tape
– Light Fixture
– Wire Connectors
– Wire Strippers
2. Turn Off Power
Before you start working with any electrical wires, you’ll need to turn off the power to the room you’ll be working in. This can typically be done by turning off the corresponding circuit breaker in your home’s electrical panel.
3. Install Electrical Box
Next, you’ll need to install an electrical box in the ceiling where you want to have your ceiling light outlet. This will provide a safe and sturdy place to attach your light fixture.
4. Run Wiring
Once the electrical box is in place, you’ll need to run cable from the electrical box to a nearby power source. This may involve drilling through the ceiling joists to create a path for the cable.
5. Connect Wires
Once the cable is in place, you’ll need to connect the wires according to the wiring diagram for your specific light fixture. This usually involves connecting the white wire to the white wire, the black wire to the black wire, and the ground wire to the ground wire.
6. Test for Power
Before attaching the light fixture, use a circuit tester to make sure that there is no electrical current running through the wires.
7. Attach Light Fixture
Finally, attach your light Doldesign fixture to the electrical box according to the manufacturer’s instructions.
Ceiling light outlets are a great way to improve the lighting in your home. By following the steps outlined above, you can install ceiling light outlets safely and easily.


